You can move the points of the drawing on the screen to recreate the pose you want

Editing checkpoints-kinetrax
- Below are the options of how to create checkpoints and the necessary indications for two of these three
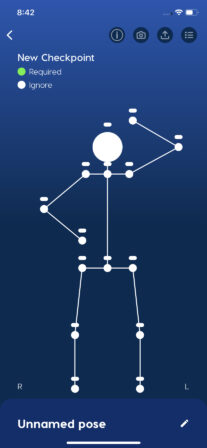
By pressing the little lines above each dot you can indicate that it is a required dot, which will change the color of the dot from white to green
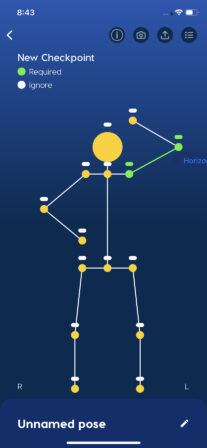
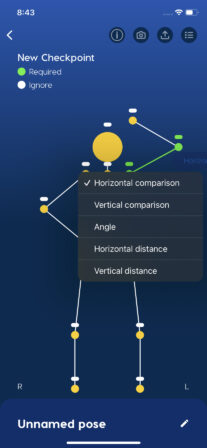
You must select at least two points to create a comparison, which can be: angle, horizontal and vertical distance, horizontal and vertical comparison
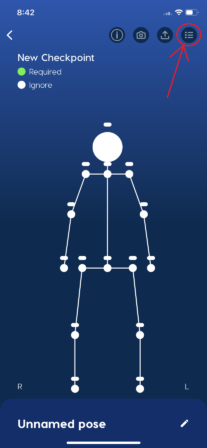
You can see the comparisons you have made by clicking on the button with the list icon located in the upper right corner
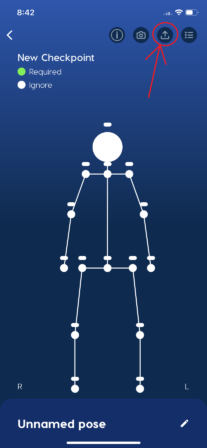
You can upload a photo of the pose you want by just clicking on the button with the upload icon and the application will take care of positioning the points, you just have to establish the comparisons and that’s it!
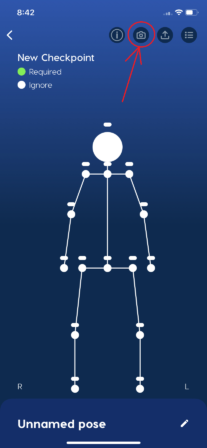
Use your phone’s camera to take a picture of the position you want by clicking on the button with the camera icon, and just like uploading an image, all you have to worry about is making the comparisons
- Next, there is a series of guide photos of what the photo you upload should be like in order to be detected correctly
- Next, there is a series of guide photos of what the photo you upload should be like in order to be detected correctly


